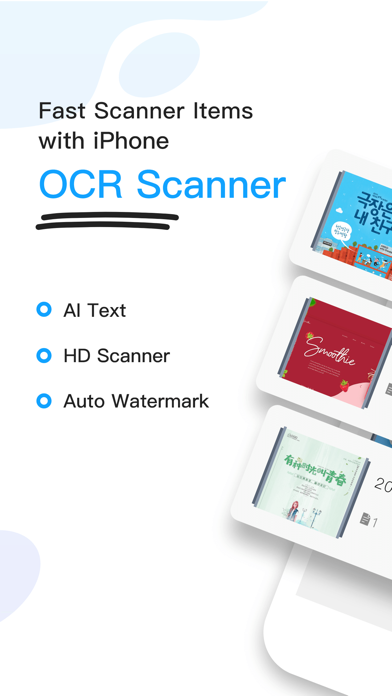
6 Dinge über Scanner
1. Any unused portion of a free trial period, if offered, will be forfeited when the user purchases a subscription to that publication.
2. Account will be charged for renewal within 24 hours of the end of the current period, and the cost of the renewal will be provided.
3. Subscription automatically renews unless auto-renew is turned off at least 24 hours before the end of the current period.
4. No cancellation of the current subscription is allowed during active subscription period.
5. Auto-renewal may be turned off by going to the user’s Account Settings after purchase.
6. *The displayed price is $, and the actual cost may be converted to local currency according to your country.
So richten Sie Scanner APK ein:
Erfahren Sie in diesen 5 einfachen Schritten, wie Sie Scanner APK auf Ihrem Android Gerät verwenden:
- Laden Sie die Scanner app herunter, indem Sie oben auf die Download-Schaltfläche klicken. Die apk Datei ist sicher und funktioniert zu 99 % garantiert.
- Drittanbieter-Apps auf Ihrem Gerät zulassen: Um Scanner zu installieren, stellen Sie sicher, dass Drittanbieter-Apps als Installations quelle aktiviert sind. Gehen Sie auf Ihrem Android Gerät zu » Einstellungen » Sicherheit » Klicken Sie auf "Unbekannte Quellen", um Ihrem Telefon zu erlauben, Apps von Quellen wie unserer Website zu installieren.
- Installieren Sie die APK: Nachdem Sie die Installation von Drittanbietern aktiviert haben, gehen Sie zu Ihrem Dateimanager und suchen Sie die Scanner Apk datei. Klicken Sie hier, um den Installationsvorgang zu starten. Tippen Sie immer auf "Ja", wenn Sie dazu aufgefordert werden. Lesen Sie unbedingt alle Anweisungen auf dem Bildschirm.
- Nach der Installation sehen Sie das installierte Scanner app symbol auf Ihrem Startbildschirm. Fahren Sie mit der Verwendung fort.