6 Dinge über MealTastic: Cooking Recipes
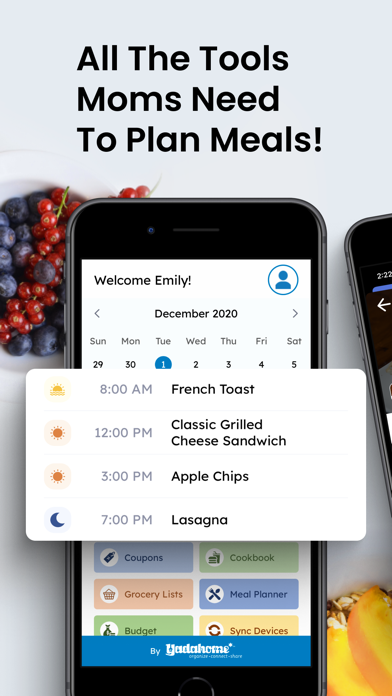
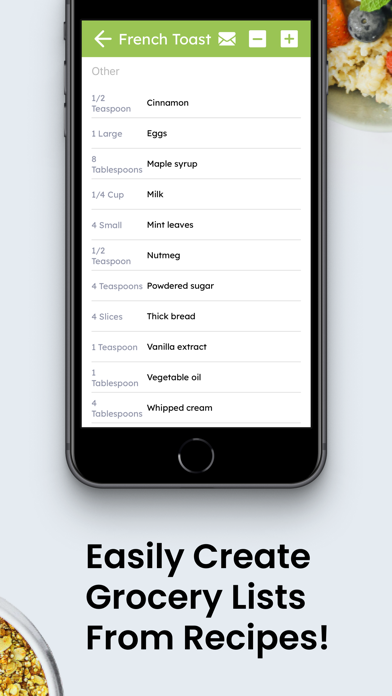
1. The app features a personalized home screen, grocery lists, meal calendar, recipes and recipe search, brand name grocery coupons, to-do lists and a handy budget.
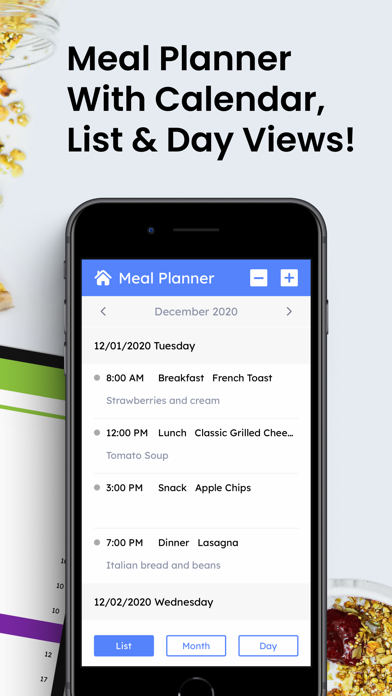
2. MealTastic – Meal Planner has all the easy-to-use meal planning tools you’ll need to plan meals and stay on top of your diet.
3. - Any unused portion of a free trial period, if offered, will be forfeited when the user purchases a subscription to that publication, where applicable.
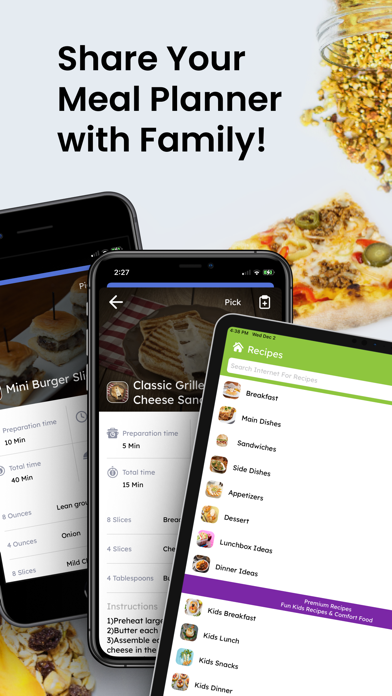
4. It also allows you to sync you meal planner to the cloud, so that it can be shared with family.
5. - Account will be charged for renewal within 24-hours prior to the end of the current period, and identify the cost of the renewal.
6. Further, free trial periods have no monetary value.
So richten Sie MealTastic APK ein:
Erfahren Sie in diesen 5 einfachen Schritten, wie Sie MealTastic APK auf Ihrem Android Gerät verwenden:
- Laden Sie die MealTastic app herunter, indem Sie oben auf die Download-Schaltfläche klicken. Die apk Datei ist sicher und funktioniert zu 99 % garantiert.
- Drittanbieter-Apps auf Ihrem Gerät zulassen: Um MealTastic zu installieren, stellen Sie sicher, dass Drittanbieter-Apps als Installations quelle aktiviert sind. Gehen Sie auf Ihrem Android Gerät zu » Einstellungen » Sicherheit » Klicken Sie auf "Unbekannte Quellen", um Ihrem Telefon zu erlauben, Apps von Quellen wie unserer Website zu installieren.
- Installieren Sie die APK: Nachdem Sie die Installation von Drittanbietern aktiviert haben, gehen Sie zu Ihrem Dateimanager und suchen Sie die MealTastic Apk datei. Klicken Sie hier, um den Installationsvorgang zu starten. Tippen Sie immer auf "Ja", wenn Sie dazu aufgefordert werden. Lesen Sie unbedingt alle Anweisungen auf dem Bildschirm.
- Nach der Installation sehen Sie das installierte MealTastic app symbol auf Ihrem Startbildschirm. Fahren Sie mit der Verwendung fort.